Weak compression doesn’t always mean that the cylinder has to come off.
For most of my nearly six decades as an aircraft owner and three decades as an A&P, the rule about cylinders was simple: If the compression reading was less than 60/80, the cylinder had to come off for repair or replacement, period. The mechanics who worked on my airplanes, then later mentored me about maintenance, and then still later became my professional colleagues seemed quite happy with this straightforward rule. (Mechanics are always happiest when they have clear guidance to follow.)
In 1984, Continental muddied the water when they issued Service Bulletin M84-15 that substituted a “master orifice tool” in place of the traditional 60/80 go/no-go criterion. This allowed Continental cylinders to remain in service with compression readings down to the mid-40s so long as the leakage was past the rings. This guidance was based on dynamometer test cell research by Continental engineering demonstrating that an engine with all cylinders at 40/80 made exactly the same horsepower as one with all cylinders at 75/80. (Most A&Ps weren’t comfortable with this, and would still yank jugs if they measured anywhere in the 50s.) However, M84-15 also said that no leakage past the valves was acceptable—none! This totally unrealistic clause resulted in countless cylinders being pulled unnecessarily.
Then in 2003, Continental changed the rules once again. Service Bulletin SB03-3 retained the master-orifice-tool criterion, but now said that it didn’t matter where the leakage occurred—rings, valves, didn’t matter—compressions down to the mid-40s was acceptable. SB03-3 also stated that a borescope inspection “must” be performed whenever a compression test was performed. (At the time, most piston shops didn’t even own a borescope.)
SB03-3 went on to say that if a cylinder flunked the compression test but the borescope didn’t reveal any obvious cause, the engine should be flown for at least 45 minutes and the compression test repeated. Our experience was that when this was done, cylinders almost always passed the re-test, often with flying colors. However, most A&Ps were extremely reluctant to follow this guidance because it required them to release the airplane for flight with a weak-compression cylinder, something their training prohibited them from doing.
Meantime, Lycoming had no interest in coming to this party. Their guidance stuck with the old 60/80 no-go criterion and made only passing mention of borescopes. No surprise there—Lycoming has a long history of being far more conservative technically than Continental, particularly with regard to maintenance in the field.
What We’ve Learned Recently
In the two decades since Continental issued SB03-3, we’ve learned a great deal about cylinder assessment and remediation. One thing we’ve learned is that the compression test is a terrible way to assess cylinder airworthiness. It’s unreliable—repeated tests of a cylinder can yield wildly different results. It’s also invalid—the compression reading has very little correlation with how the cylinder actually performs when the engine is running. (I discussed this at length in my article “Unbelievable Compression” in the June 2023 issue of AOPA Pilot.)
We’ve learned that a good borescope inspection is a vastly more reliable way to assess cylinder airworthiness. The borescope is a truly awesome diagnostic tool. It not only tells you unerringly whether a cylinder is healthy or sick—but if it’s sick the borescope can reveal exactly what’s wrong, how serious it is, and whether the cylinder can be restored to health without incurring the cost and risk of cylinder removal. In recent years, borescopes have become remarkably more capable and dramatically less expensive. Numerous excellent ones are now available for less than $300, which means that every A&P and maintenance-involved aircraft owner can easily afford to buy one.
We’ve also learned that remediation of cylinder problems without removal is usually possible if the problem is caught early – by using modern minimally-invasive techniques such as lapping the exhaust valve in place or performing a solvent ring flush. More about these in a moment.
Now, if the cylinder is seriously ill—perhaps it has a broken ring or detonation damage—the borescope will tell you that, too. In such cases, the cylinder obviously will have to come off. But we always want to avoid cylinder removal unless there’s no alternative, because it’s costly, invasive and risky. The borescope makes that possible.
Lapping Valves In Place
By far the most common reason for weak compression and cylinder removal is leakage past the exhaust valve due to a burned valve. However, if this is caught early enough—before significant metal erosion or warping has occurred—the leakage can be eliminated without cylinder removal by lapping the exhaust valve in place.
I first learned about this procedure from my colleague Dave Pasquale A&P/IA who owns Pasquale Aviation in Pottstown, Pennsylvania. Dave has been dealing with exhaust valve leakage by lapping in place for many years with great success. He does this by dropping the exhaust riser from the affected cylinder, removing the rocker cover, exhaust rocker and valve springs, applying valve grinding compound to the valve through the exhaust port, and spinning the valve using a cordless drill. After a few rounds of lapping in this manner, he cleans the surfaces with solvent and uses a borescopeto inspect the contact signature on the sealing surface of the valve to ensure the valve is making good contact with the seat around its entire circumference. If he’s not satisfied, he continues lapping until he is. Then he reinstalls the valve springs with a new rotator cap or rotocoil and reinstalls the rocker.

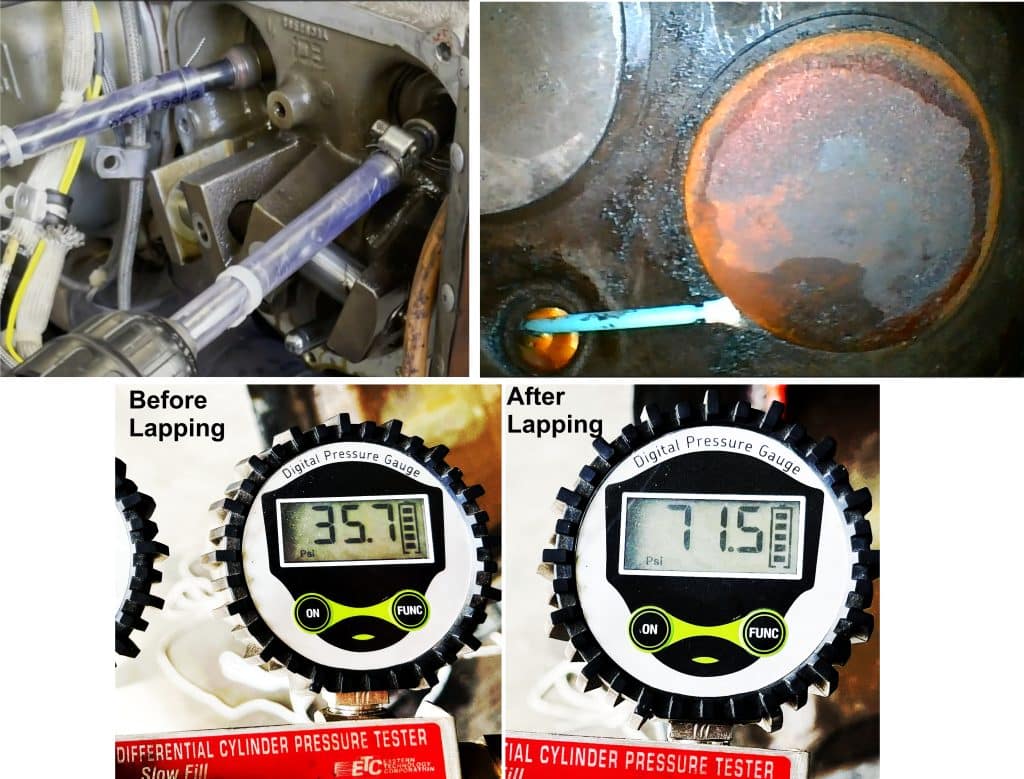
A couple of years ago, when I was doing the annual on my Cessna Turbo 310, I found the #6 cylinder on the left engine measured 36/80 on the compression test, with air audible from the exhaust. The borescope revealed an asymmetrical heat signature on the exhaust valve, but it looked like it might be a good candidate for lapping in place, so I decided to try it.
Dropping the exhaust on my turbocharged engines is a pain in the patoot, so I decided to see whether I could figure out how to lap the valve without dropping the exhaust, working only through the two spark plug openings. After a bit of experimenting, I developed a technique for doing this using some gun cleaning applicator swabs that I bent using a heat gun so they could be inserted through the bottom spark plug boss—while viewing with a borescope through the top spark plug boss—and maneuvering the applicator tip between the exhaust valve and seat. I made a YouTube video demonstrating this technique that you can access at https://bit.ly/lapping-in-place.
My initial attempt brought the compression of the #6 cylinder up from 36/80 to 72/80. However, when I reinspected the valve 15 hours later, the valve still had an asymmetrical heat signature although the compression was good. I consulted with Dave, who told me, “you probably didn’t lap it aggressively enough—rookie mistake.” So I decided to lap the valve again using more iterations and more elbow grease. When I borescoped the valve 15 hours later, the heat signature was a perfectly symmetrical bullseye pattern.
Lesson learned: Lap the valve aggressively. Don’t be a wuss!
Solvent Ring Flush
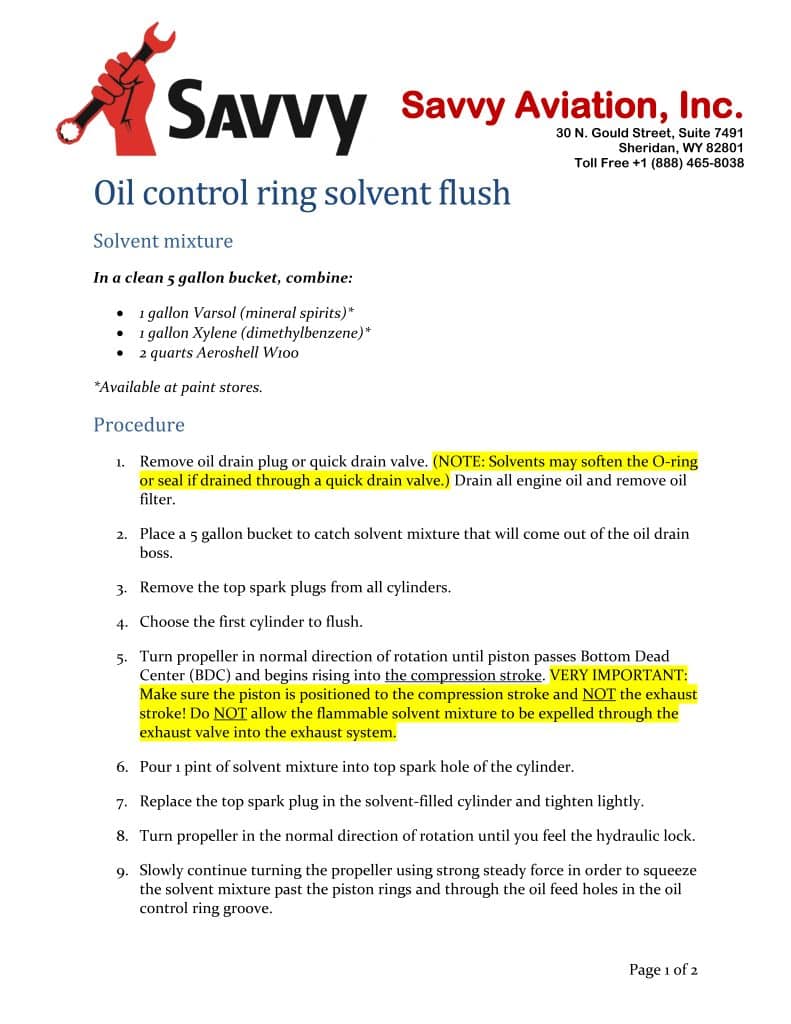
If the compression test reveals excessive air escaping past the piston rings and audible at the engine’s oil filler port, our experience is that this is often caused by stuck rings due to excessive sludge buildup in the ring grooves, in the split oil control ring, and in the piston oil feed holes. Once again, if this condition is caught early enough, it can be remediated without cylinder removal using a simple solvent flush procedure that is best done in conjunction with an oil change.

I learned about this technique from lubrication chemist extraordinaire Edward Kollin of Lubrication Science Inc. Ed is the inventor of ASL CamGuard and formerly with Exxon Research. The procedure simply involves positioning the piston at bottom dead center at the beginning of the compression stroke, filling the combustion chamber with a mixture of solvent and engine oil through the top spark plug hole, replacing the top spark plug, and then pulling the prop to bring the piston to top dead center and forcing the fluid through the rings and piston oil feed holes. We’ve documented the detailed procedure for doing this at https://bit.ly/solvent-ring-flush.
Sometimes the rings are so badly fouled with lead sludge that it’s impossible to force the fluid past the rings. In that case, cylinder removal is unavoidable. But more often than not, the solvent flush procedure will be successful at cleaning up the ring pack and piston, and cylinder removal isn’t necessary. I’ve done this on my own airplane with excellent results. The procedure is so simple and non-invasive that I’d feel comfortable with a non-A&P aircraft owner doing it under his or her preventive maintenance authority. It’s certainly worth trying before allowing the jug to be pulled.
“I was always a bit suspicious of the procedure,” read a post on the MooneySpace forum from an aircraft owner in Arizona. “I was helping with this old 310 a while back and one cylinder had very low compression. You could hear the air was leaking past the rings. So I told the owner to try doing the ring flush. We left the solvent in the cylinder overnight, then slowly pushed it past the rings. That cylinder made 75/80 after that.”
Ending the War on Jugs
The big takeaway here is that weak compression doesn’t always mean that the cylinder has to come off. What it does mean is that the cylinder needs to be borescoped to determine what’s going on. If there’s leakage past the exhaust valve, the ‘scope will reveal how badly burned the valve is, and if it’s not too far gone, then lapping in place may well be all that is needed. If there’s leakage past the rings, then a solvent ring flush is definitely worth a try.
Cylinder removal should always be the last resort, something that should be done only after less invasive techniques have been tried.